Installing OS onto a Raspberry Pi
Ahoj! In this section, you will flash (or install if you wish) an OS Linux onto your SD card or USB flash key and boot your Raspberry Pi for the first time.
Install the OS by flashing the image
Flash the image onto a microSD card or a USB flash drive
- NOTE: The process is the same for types of storage; only the target differs.
1. Download the appropriate image for your Raspberry Pi model, and save it on your PC in any directory.
- If you have Raspberry Pi 4B, we recommend you download this image.
- This image is based on Bullseye 64-bit.
- If you have Raspberry Pi 5, download this image.
- This image is based on Bookworm 64-bit, and it is the only image that works with Raspberry Pi 5.
- Additional documentation for Bookworm RMS can be found in wiki section 2.3 "Advanced RMS installations and multi-camera support".
- NOTE: You can use this download for Raspberry Pi 4B, but some functions may not work, such as the RTC module, and you must install AnyDesk. At this time, we see no advantage in running this image on Raspberry Pi 4B.
- For archive uses, you can download the previous 32-bit image for Raspberry Pi 4B, which is based on Buster 32-bit image. We do not support this image, so you should use it only if you really need it and know what you are doing.
- If you encounter problems with any of the images, contact the Technical Support group at https://globalmeteornetwork.groups.io/g/techsupport.
- TIP: Here, you will see a list of checksums and sizes of images.
2. Download balenaEtcher.
- The process shown here uses balenaEtcher because it is the simplest tool for beginners. If you are familiar with a different USB flashing utility (such as, Rufu or Raspberry Pi Imager), feel free to use these. It these alternatives do not work for you, use balenaEtcher and the process documented here.
- If you use RPi imager, select Custom for the OS, then select the image you downloaded. You also can configure the hostname, wifi details, and ssh key details with Custom Settings.
- IMPORTANT: DO NOT change the username and password. These are embedded in the image.
3. Insert a microSD card or a USB flash disk into your PC and note the letter it was assigned.
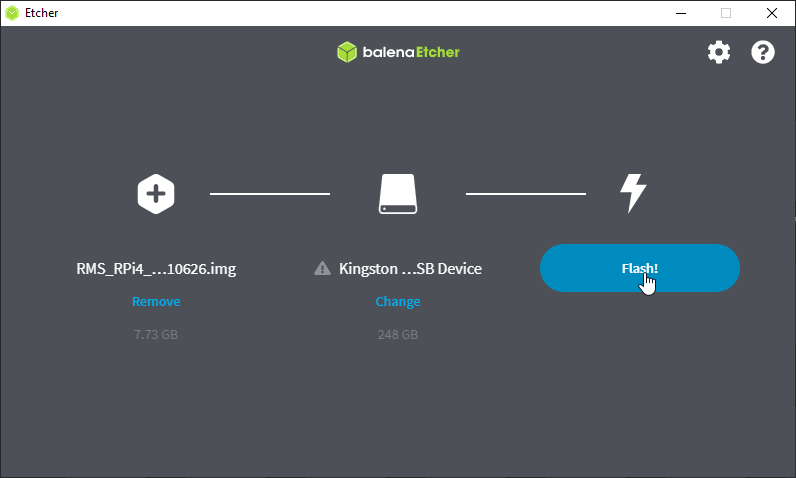
4. Run balenaEtcher, then flash the image file onto your microSD card/USB flash drive.
5. Select Flash from file, then find the image file and select it.
6. Select your USB flash drive as the Target.
- Even though the system disks are hidden, they usually verify the name, letter, and size of your USB flash drive to verify you chose the correct target.
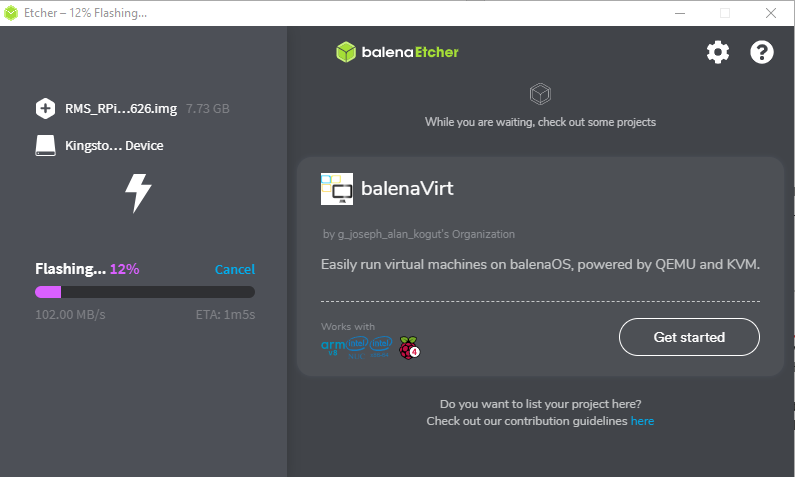
7. Click Flash once again to verify the target and confirm it, then wait for the process to finish.
- NOTE: If you see an error, you may need to run balenaEtcher as administrator.
8. Eject the USB flash drive in Windows, then remove microSD card/USB flash drive.
9. Insert the microSD card/USB flash drive into your Raspberry Pi.
- Raspberry Pi should already be connected to a TV or monitor, a keyboard, and mouse connected.
- If a TV or monitor is not connected, refer to these instructions.
10. Wait for the boot.
- If the boot takes too long to begin, refer to the next section. If the Pi booted successfully, follow the on-screen instructions.
- This is what the selection should look like:
- This is what the process should look like:
Pre-2021 Raspberry Pi 4 bootloader update - USB flash drive ONLY
If you encountered a problem booting Raspberry Pi 4 from a USB device (common for all USB devices, not only flash disks), the most probable reason is that your Raspberry Pi 4 is from an older batch and you must update its bootloader.
The procedure is simple, and you need a small capacity, blank microSD card to store about 1MB of data. The process is nicely described in the raspberry pi official documentation.
- NOTE: If you are looking for an extensive USB booting guide, click here.
The preinstalled RMS software images incorporate an auto-update feature, which updates the RMS software to the current release whenever you boot Raspberry Pi RMS. Your station always runs the most recent set of updates!
The first boot
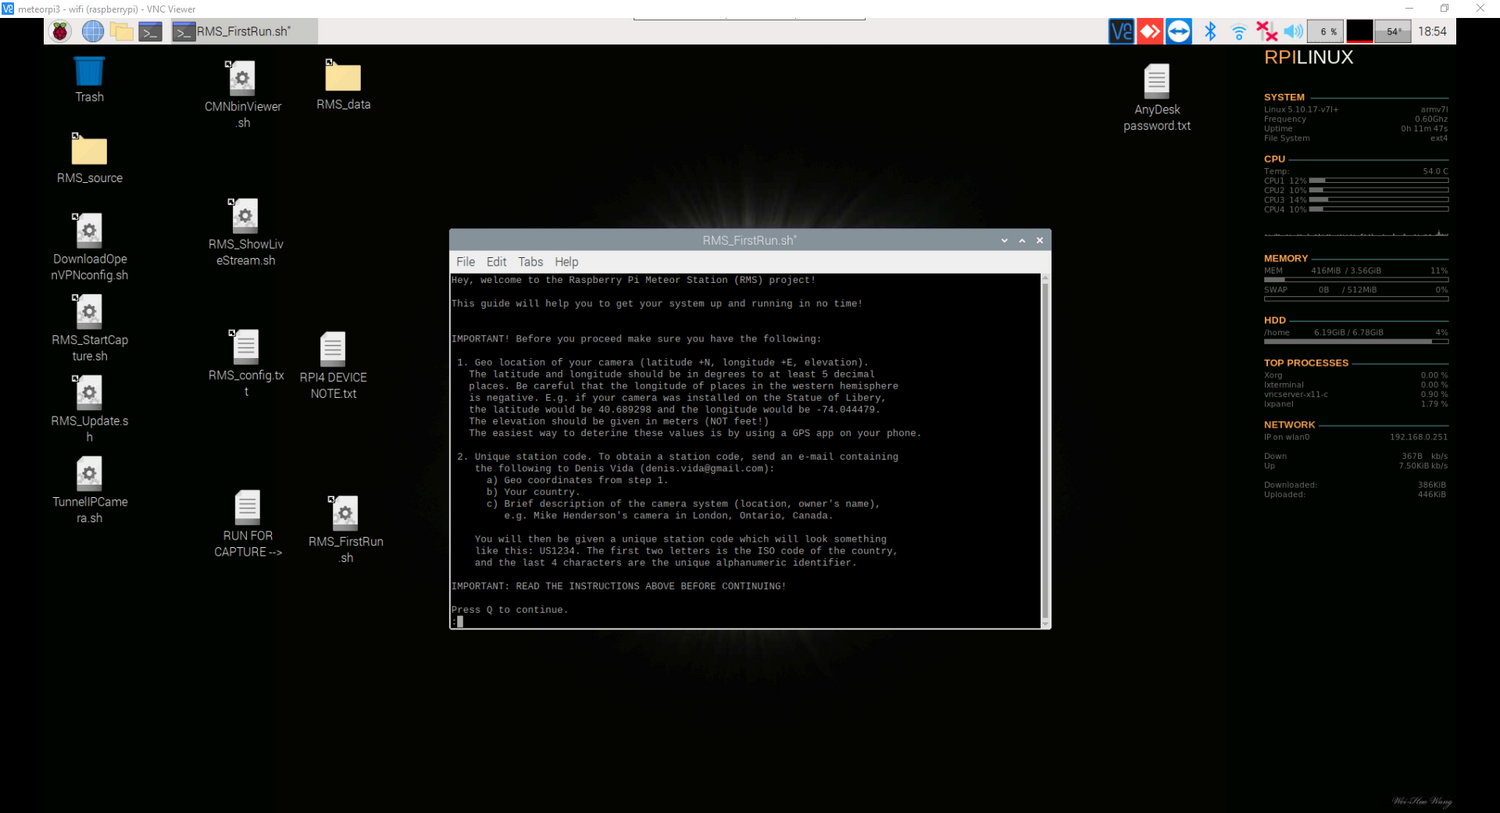
This is how the first boot of RMS linux looks:
Now is a good time to send an email to denis.vida@gmail.com. Include a short introduction that includes your country, then tell him you are building a camera and you need a station code. You use a station code when you set up the RMS software, after your camera is fully installed and positioned.
(Optional) Install the software from scratch
This installation is for users who want to complete more advanced tasks. If you the procedure in the previous section, do not continue with the sections that follow.
- NOTE: When you set up a Raspberry Pi, you should use the prebuilt image, which includes all necessary software installed and ready to use. If you decide to install the software on the RPi from scratch, follow the instructions on this page.
Next, you will focus your camera and assemble the bits and pieces for the first test.
Boot without a TV or monitor
If you do not have a TV or monitor connected to the Pi when you set it up, you must use VNC, a remote-access tool.
1. After you burn the microSD card, insert it into the Pi and switch on the power.
- You should see the lights on the Pi flicker for a minute or two. If the lights do not flicker, it is possible the microSD card image did not properly burn.
2. If the lights flicker as ecpected, wait at least three minutes after the lights stop flickering before you proceed.
- NOTE: There are several stages to the initial boot, so it will take a while.
3. While you wait, download VNC Viewer.
- You do not need to create an account or subscribe, so ignore the buttons and links. After a few seconds, the download will start.
4. To connect to the Pi using VNC, you must know either its name or its IP address.
- NOTE: If you did not set the hostname when you burned the microSD card, (this is an option available in Raspberry Pi Imager), its name is probably raspberrypi.
- To find its IP address using the manufacturer name, run Advanced IP Scanner. This tool starts with Raspberry Pifind.
5. Open VNC Viewer and enter the name or IP address into the box at the top.
- After a few seconds, you see a login dialog box.
6. The default username is rms and the initial password is rmsraspberry. Change these credentials as soon as you log in.
- Now, you should now see the Pi desktop and the RMS_FirstBoot window.


