Booting from a USB device
This page is meant for the people who would like to boot a Raspberry Pi directly from the USB device and would like to avoid using a microSD card due to various reasons e.g. USB 3.X devices are faster, by some considered more reliable or simply some of them are available unused at your disposal. This page deals with and brings the how-to for the Raspberry Pi 4B only. In general Raspberry Pi 4B is able to boot from any USB device out of the box. Please see the caveats section for the possible issues you may encounter and how to solve them. As such Raspberry Pi 4B can be booted from a USB flash, USB-attached Solid State Disk (SSD) or USB-attached Hard Disk Drive (HDD) either 2.5” or 3.5”. The list of proven devices that are in use by other members will be provided in each section. The easiest setup with almost no caveats comes with a USB flash drive which is as easy as booting from a microSD card. By using a USB-attached SDD or HDD there are some things you need to consider.
USB flash disk
How-to
- Download the zipped Image for Raspberry Pi 4B here and save it on the PC somewhere.
- Unzip the zip file containing the image, which has a .img extension.
- Download the BalenaEtcher, if you haven’t done it yet.
- Insert a USB flash disk into your PC, and note the letter it was assigned.
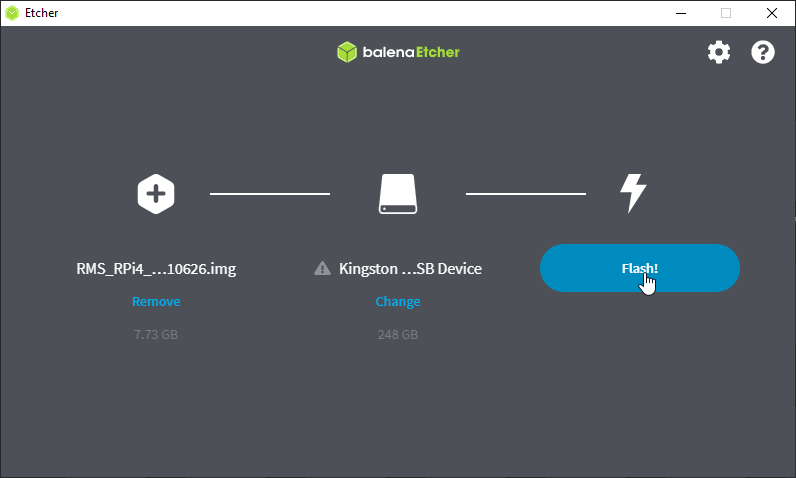
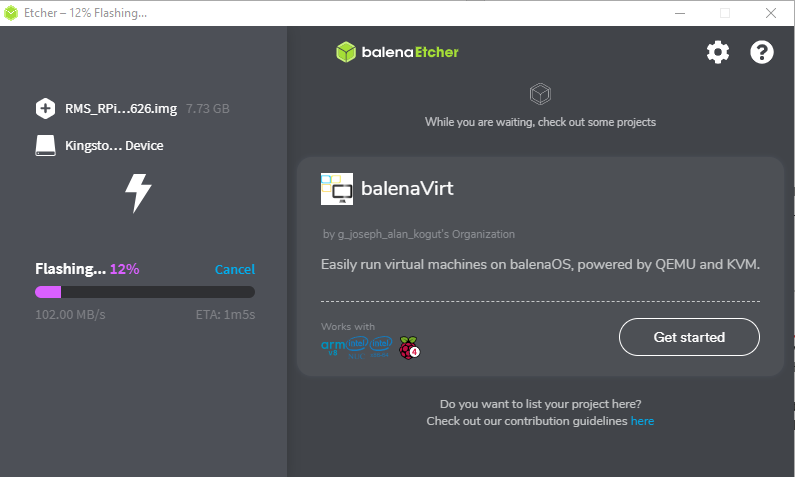
- Run BalenaEtcher, make sure you run it as administrator and flash the image file onto your USB flash disk: Select Flash from file, find your unzipped .img file and select it. As Target select your USB flash disk. Normally the system disks are hidden but verify the name, letter and size of your USB flash disk to be sure you have the correct target. Click Flash, once again verify the target and confirm it. Wait for the process to finish.
- Eject the USB flash disk in windows if necessary and then remove your USB flash disk from your PC and insert it into your Raspberry Pi, which should be connected to a TV or Monitor, and have a keyboard and mouse connected. Power on a Raspberry Pi. Make sure that a microSD card is not inserted.
- Wait for the boot. If the boot takes too long to occur, please have a look at the next section. If it booted successfully, follow the on-screen instructions. You may return to the previous page as you are done with flashing the image onto a USB flash disk.
This is what the selection should look like:
This is what the process should look like:
Pre-2021 Raspberry Pi 4 Bootloader update
Proven HW
| HW | Note |
|---|---|
| Kingston DataTraveler Kyson 256 GB | Operated in 4 stations since Nov 2021, no issues |
USB-atached SSD
What to consider
How-to
Proven HW
| HW | Note |
|---|---|
| Crucial BX500 240GB 3D NAND SATA 2.5-inch SSD | Operated in 1 station since Aug 2021, without powered USB hub, no issues |
| Crucial MX500 250GB 3D NAND SATA 2.5-inch SSD | Operated in 1 station since Aug 2021, without powered USB hub, no issues |
| ORICO 2.5 inch USB3.0 Hard Drive Enclosure | Operated in 2 stations since Aug 2021, no issues |
USB-attached HDD
What to consider
How-to
Proven HW
Useful resources
More in-depth information about a Raspberry Pi 4B boot process and boot options can be found in the official documentation

