Build the camera itself: Difference between revisions
Jump to navigation
Jump to search
RadimStano (talk | contribs) No edit summary |
RadimStano (talk | contribs) No edit summary |
||
| (4 intermediate revisions by the same user not shown) | |||
| Line 1: | Line 1: | ||
Howdy! This is probably the most fun part, where you will put all the pieces together. Follow the order of steps. If you'll find something not particularly clear, let us know in the forums, so we may fix it. | Howdy! This is probably the most fun part, where you will put all the pieces together. Follow the order of steps. If you'll find something not particularly clear, let us know in the forums, so we may fix it. | ||
= Assembly = | = Assembly = | ||
[Note: there's a longer version of the camera assembly section of this page available on Google Docs. Please refer to [https://docs.google.com/document/d/18TT-Jm7z9kYskl5ua07jQWD91OiyBemBnOosiNdW6nY/edit?usp=sharing this] if you need more information.] | <s>[Note: there's a longer version of the camera assembly section of this page available on Google Docs. Please refer to [https://docs.google.com/document/d/18TT-Jm7z9kYskl5ua07jQWD91OiyBemBnOosiNdW6nY/edit?usp=sharing this] if you need more information.]</s> | ||
<table><tr><td> | <table><tr><td> | ||
| Line 50: | Line 49: | ||
<table><tr><td> | <table><tr><td> | ||
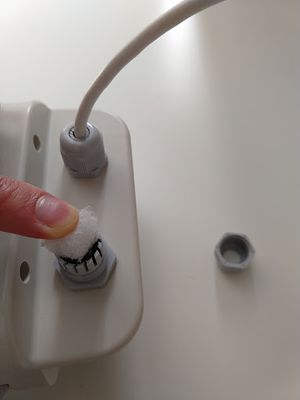
= Preparing the Camera Housing = | == Preparing the Camera Housing == | ||
[[File:glands.jpg|thumb|right|Glands in Place]] | [[File:glands.jpg|thumb|right|Glands in Place]] | ||
* Fit the small cable gland to the housing and pass the loose ends of the Camera PoE cable up through, but don't tighten it up yet. Remember to slip the cap over the cable first! | * Fit the small cable gland to the housing and pass the loose ends of the Camera PoE cable up through, but don't tighten it up yet. Remember to slip the cap over the cable first! | ||
| Line 99: | Line 98: | ||
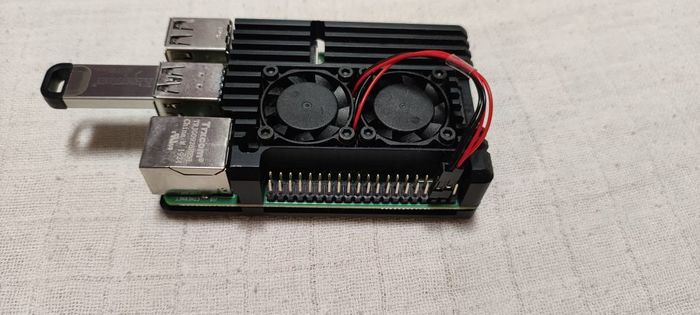
== Installing the cooling housing to the Raspberry Pi 4 == | == Installing the cooling housing to the Raspberry Pi 4 == | ||
Install 2 fans into the case, remove the foils from the pads, put the in place, and screw the case together. Then plug in the wires of the fans as per the below picture. | |||
[[File:Raspi4_in_case_small.jpg|700px]] | |||
</td></tr></table> | </td></tr></table> | ||
Perfect! Now you have the camera part ready. Let’s continue with flashing the RMS Linux image onto an SD card or a USB key. [https://globalmeteornetwork.org/wiki/index.php?title=Build_%26_Install_%26_Setup_your_camera_-_The_complete_how-to Back to the signpost page.] | Perfect! Now you have the camera part ready. Let’s continue with flashing the RMS Linux image onto an SD card or a USB key. [https://globalmeteornetwork.org/wiki/index.php?title=Build_%26_Install_%26_Setup_your_camera_-_The_complete_how-to Back to the signpost page.] | ||
Latest revision as of 07:06, 18 October 2023
Howdy! This is probably the most fun part, where you will put all the pieces together. Follow the order of steps. If you'll find something not particularly clear, let us know in the forums, so we may fix it.
Assembly
[Note: there's a longer version of the camera assembly section of this page available on Google Docs. Please refer to this if you need more information.]
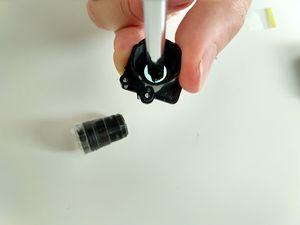
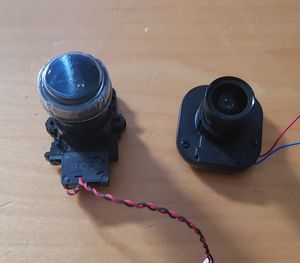
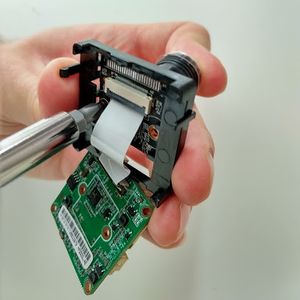
Preparing the Lens
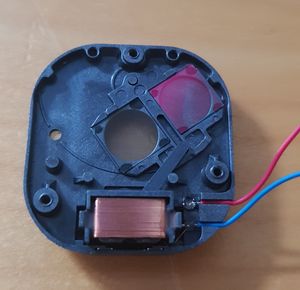
Lens holder with single filter
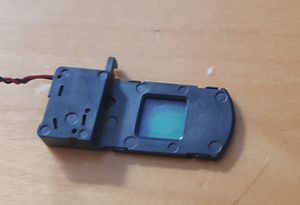
Lens holder with electronic filter drawer
|
Attaching the Lens to the Camera
|
Preparing the Camera Housing
|
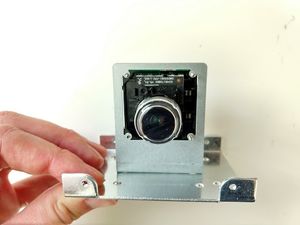
Attaching the CameraNote: I recommend installing the camera in the housing at this point so that you do not have to detach the cables or risk knocking focus later on. However, you can proceed to test focus etc before installing the camera in the housing if you wish. If you prefer to do that, skip this section for now and come back later. Otherwise:
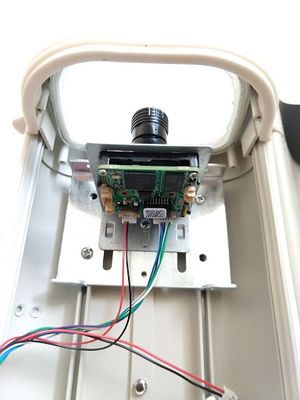
See image for the proper camera board orientation, so the video is not sideways or upside down. |
Installing the Camera in the Housing
|
Perfect! Now you have the camera part ready. Let’s continue with flashing the RMS Linux image onto an SD card or a USB key. Back to the signpost page.
